Related Articles
Adding a border to a photo is one of the simplest ways to make an ordinary image look more polished and attractive. I personally like using photo borders when I want an image to look cleaner, more organized, or ready for sharing. A simple white border can make a photograph look professional, while a colorful or decorative border can give it a creative style.
The good thing is that you do not need advanced photo editing skills for this. Many online photo editing tools allow you to add borders directly from your browser. You can upload a photo, choose a border style, adjust its thickness, select a color, and download the finished image.
In this article, I will explain some of the best online tools to add borders to photos and what you should look for when choosing one.
Why Add Borders to Photos?
A photo border can change the overall appearance of an image without changing the original photograph. I find borders especially useful when an image needs more space around the edges or when the photo looks too close to the frame.
Borders can also help separate an image from a website background. For example, if you upload a bright photo to a page with a white background, the edges may not be easy to notice. Adding a thin border can make the image stand out.
Borders are also useful for social media posts, blog images, profile pictures, digital albums, greeting cards, and printable photographs.
1. Canva
Canva is one of the online design tools I often recommend to beginners because its interface is simple and visual. You can upload your photo and use frames, shapes, lines, and other design elements to create a bordered image.
Canva is useful when you want more than a basic border. You can combine a photo with text, icons, background colors, and decorative elements. This makes it suitable for social media graphics and blog images.
One thing I like about Canva is that you can easily experiment with different designs before downloading the final image. You can also resize your project for different platforms.
For a simple photo border, however, you should avoid adding too many elements. A clean design usually looks more professional.
2. Fotor
Fotor is another useful online photo editing platform for adding borders. It provides different editing features that can help you improve an image before applying a frame or border.
I find this type of tool useful when I want to make small adjustments to a photo at the same time. You can work with colors, effects, cropping, and other basic editing options.
If your goal is to create a stylish photo for social media or a personal project, Fotor can be worth trying. Its online interface means you do not have to install complicated software on your computer.
3. Adobe Express
Adobe Express is designed for quick online graphic editing and is useful for people who want a professional looking result without using advanced desktop software.
You can upload an image and create a design around it. Borders can be made using shapes, backgrounds, and other design elements. This gives you more flexibility than simply choosing a preset frame.
I particularly like this approach when the photo needs to be part of a larger graphic. For example, you can place a bordered photograph inside a social media post with a heading and supporting text.
4. Pixlr
Pixlr is a popular browser based photo editor that provides a range of editing features. It is useful for people who want more control over their image.
You can use shapes and other editing features to create borders around photos. You can also make adjustments to the image before finishing the design.
Pixlr can be a good option if you are comfortable with slightly more detailed editing. Beginners may need a little time to understand all the available tools, but the extra control can be useful.
5. BeFunky
BeFunky is another online photo editing platform that can be used to create attractive photo borders. It combines basic editing features with creative design options.
One advantage of using a tool like BeFunky is that you can improve the image and add a border in the same editing session. You can crop the photo, adjust its appearance, and then experiment with different framing styles.
For personal photos, travel pictures, and creative projects, decorative borders can add an interesting visual touch.
6. Kapwing
Kapwing is well known for online content creation and can also be useful when preparing images for digital platforms.
You can upload an image and place it on a larger canvas. By choosing a background color around the photo, you can create a simple and clean border.
This method is especially useful when you want a specific amount of space around your photograph. For example, you can create a white background around a square image and make it look like a framed picture.
Kapwing can also be useful if you are preparing content for social media because you can work with different canvas sizes.
What Should You Look for in an Online Photo Border Tool?
When choosing the best online tools to add borders to photos, I recommend looking at a few important features.
The first thing is ease of use. A good tool should allow you to upload a photo and find the border options without spending a long time searching through menus.
The second thing is customization. It is better if you can control the border width, color, spacing, and style.
The third thing is image quality. A tool may look impressive during editing but produce a low quality download. Always check the available export options before completing your design.
Another important feature is privacy. If you are editing personal photographs, check the service’s privacy information before uploading sensitive images.
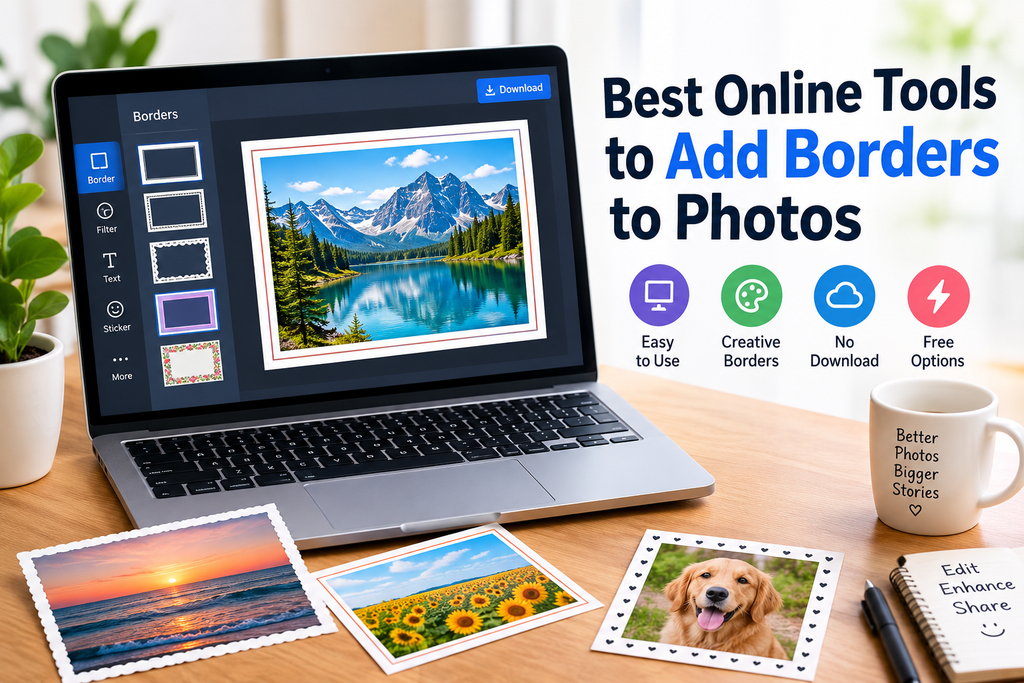
How to Add a Border to a Photo Online
The process is usually very simple.
First, choose an online photo editing tool and open it in your browser. Look for an option to upload your photograph.
Next, upload the image you want to edit. After the photo appears in the editor, look for a border, frame, canvas, shape, or background option.
Choose a border style that matches the purpose of your photo. You can use a simple white border for a clean appearance or choose a more decorative style for personal projects.
Adjust the thickness and spacing until the photo looks balanced. If the tool allows you to change the border color, choose a color that works well with the image.
Finally, preview the completed photo and download it in a suitable format.
Best Border Colors for Photos
White is one of the most useful border colors because it creates a clean and simple appearance. It works particularly well with colorful photographs.
Black borders can give an image a stronger and more dramatic appearance. They can also work well with monochrome photography.
Light gray is another option if you want something softer than black. For creative images, you can choose a color that appears naturally in the photograph.
I personally prefer neutral colors for website images because they usually keep the attention on the photograph instead of the border.
Simple or Decorative Borders?
The right border depends on what you are trying to achieve.
A simple border is usually better for professional photographs, website images, product pictures, and documents. It keeps the design clean and avoids distracting viewers.
Decorative borders can work better for birthday photos, wedding pictures, family albums, greeting cards, and creative projects.
The important thing is balance. A border should support the photograph instead of becoming the main attraction.
Tips for Better Looking Photo Borders
One mistake I often see is using a border that is too thick. A very large border can reduce the visual impact of the actual photograph.
I recommend starting with a thin border and increasing the size gradually. This makes it easier to find a balanced look.
You should also consider the background of the image. A colorful photograph may look better with a simple border, while a simple photograph may allow more creative framing.
Another useful tip is to keep the same border style when creating a collection of images. Consistent borders can make a group of photos look more professional.
Before downloading, always check the complete image. Make sure the border is even on all sides and that the photo has not been accidentally cropped.
Are Online Photo Border Tools Free?
Many online photo editors offer free features, but the exact options can vary. Some tools provide basic borders for free while reserving certain templates, design elements, or export options for paid users.
If you only need a basic border, you may not need a premium plan. I recommend checking the free features first and seeing whether they are enough for your project.
Also pay attention to watermarks. If you are preparing an image for a website, a visible watermark may make the image look less professional.
Final Thoughts
Adding a border to a photo does not have to be complicated. With the right online tool, you can create a clean and attractive image in just a few minutes.
Tools such as Canva, Fotor, Adobe Express, Pixlr, BeFunky, and Kapwing provide different approaches to photo editing and design. Some are better for simple borders, while others give you more creative control.
In my experience, the best border is usually the one that fits the photograph without distracting from it. Start with a simple design, adjust the thickness carefully, and always check the final image quality before downloading.
If you regularly create images for blogs, social media, personal albums, or online projects, learning how to add borders to photos can be a small but useful editing skill. You do not need expensive software or advanced knowledge. A browser, a good photo, and one of these online tools can be enough to create a polished result.