Related Articles
Adding text to an image can completely change the way it looks and communicates a message. In my experience, a simple photo becomes much more useful when I add a short title, quote, description, or call to action. The good thing is that I do not always need expensive software for this task. There are many free tools to add text to images online that work directly in a web browser.
These online image editing tools are especially useful for bloggers, students, social media creators, small businesses, marketers, and anyone who wants to create attractive images without spending hours learning complicated software.
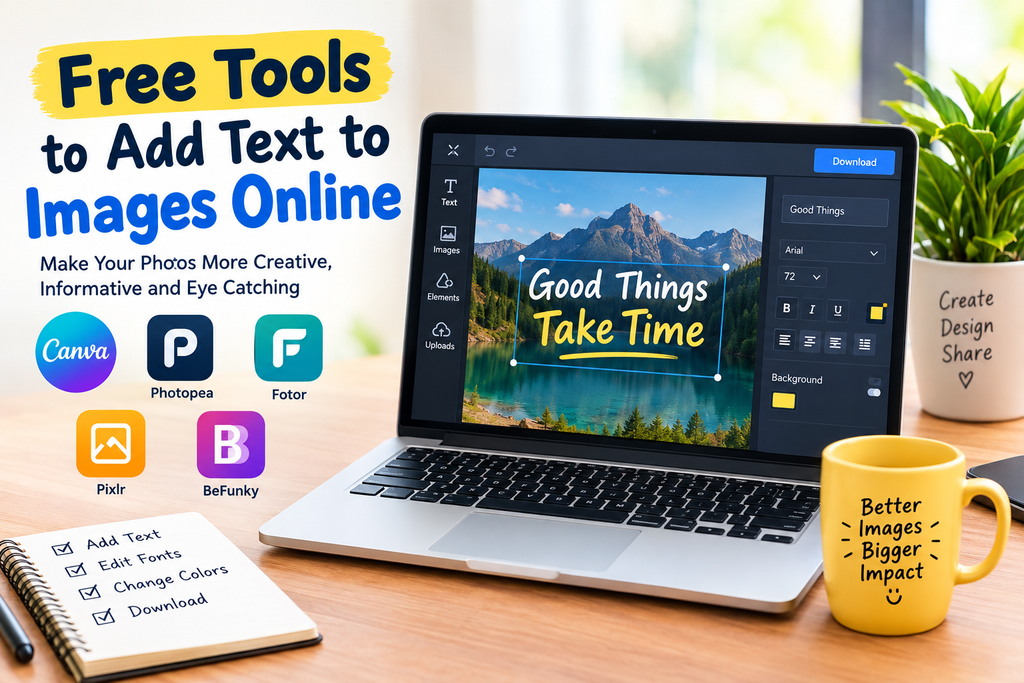
In this article, I will share some of the best free tools to add text to images online and explain what I like about each one, how they work, and what features you should look for when choosing an online image text editor.
Why Add Text to Images?
I personally think text can make an image much more meaningful. A beautiful photograph is attractive, but adding a clear message can tell viewers exactly what the image is about.
For example, a blogger can add a headline to a featured image. A student can create a presentation graphic. A business owner can add a product message to a promotional image. Social media users can create quotes, announcements, and informative posts.
Adding text to images can also improve communication. Instead of asking people to read a long explanation, you can present the main idea directly on the image.
The important thing is to keep the text readable. A complicated design with too many words can make an image look crowded.
1. Canva
Canva is one of the first tools I would recommend to beginners. It provides an easy interface where you can upload an image, select the text option, type your message, and customize the design.
Canva offers different fonts, text sizes, colors, alignment options, and design elements. It also provides templates that can save time when creating social media posts, blog graphics, thumbnails, and other designs.
What I like most about Canva is its simplicity. You do not need professional graphic design knowledge to understand the basic features.
The free version is enough for many everyday image editing tasks, although some templates and premium elements require a paid plan.
2. Photopea
Photopea is another useful option, especially for people who want an online editor with more advanced features.
The interface may look more complicated than simple image editing websites, but it provides many useful controls. You can open an image, create a text layer, change fonts, adjust the size, move the text, and modify other properties.
I find Photopea particularly useful when I want more control over the design. It can be a good alternative for people who are familiar with professional image editing software but want something that works inside a browser.
For basic tasks, however, you do not need to use all of its advanced features.
3. Fotor
Fotor is designed to make photo editing relatively simple. Its text editing features allow users to place words directly on their images and customize the appearance.
You can use different fonts and text styles to create social media graphics, invitations, promotional images, and personal designs.
One thing I appreciate about tools like Fotor is that they combine image editing with design features. This means I can make basic improvements to an image and then add text without switching between several different websites.
Some features may be restricted depending on the current free plan, so it is worth checking which options are available before starting a large project.
4. Pixlr
Pixlr is a popular browser based image editing option. It provides tools for editing photographs and creating graphics without requiring traditional desktop software.
The text tool allows you to add words to your image and adjust their appearance. You can work with different fonts, sizes, colors, and positions.
I would consider Pixlr when I want something between a basic online text editor and a more advanced photo editor.
It can be useful for blog images, social media graphics, simple promotional designs, and personal projects.
5. BeFunky
BeFunky is another online platform that can help users add text to pictures. Its design tools are easy to explore, making it suitable for beginners.
You can upload an image and use the text features to create a personalized design. The tool can be useful for creating cards, social media images, announcements, and simple marketing graphics.
I like the fact that BeFunky focuses on making creative editing accessible. If you do not want to learn complicated software, an easy browser based editor can make the process much faster.
How to Add Text to an Image Online
The basic process is usually very similar across most free online image editors.
First, open your preferred image editing website. Look for an option such as Create Design, Edit Photo, or Upload Image.
Next, upload the picture from your computer or device.
After uploading the image, find the Text option. Click it and enter the words you want to display.
Now choose an appropriate font. I recommend selecting a font that matches the purpose of your image. A professional business graphic may need a clean font, while a personal quote can use something more creative.
After choosing the font, adjust the size and color. Make sure there is enough contrast between the text and the background.
Finally, position the text where it looks balanced. When everything looks good, export or download the finished image in the format you need.
How to Choose the Best Free Image Text Editor
There are many free tools to add text to images online, so choosing one can sometimes feel confusing.
In my opinion, the best tool depends on what you want to create.
If you are a complete beginner, an easy design platform may be the better choice. If you need more advanced editing controls, an online photo editor may be more suitable.
I also recommend checking the available fonts. Fonts can have a major effect on the appearance of an image.
Another important feature is text positioning. A good editor should let you move and resize text easily.
Image quality is also important. If you are creating a blog featured image, you should make sure the final download does not reduce the quality unnecessarily.
Tips for Adding Text to Images
One of my biggest recommendations is to keep the message short. People usually do not want to read a large paragraph on an image.
Instead, focus on one main idea.
For example, instead of writing a long sentence about healthy habits, you could use a short headline such as “Simple Morning Habits for a Better Day.”
You should also choose readable colors. White text can look excellent on a dark background, while dark text often works better on a light background.
Font size matters too. Text that looks readable on your computer may become difficult to read on a mobile phone.
I also recommend leaving enough empty space around your text. A little breathing room can make the design look much more professional.
Why Online Tools Are Useful for Bloggers
As a blogger, I think online image text editors can save a lot of time. A featured image with a clear title can make an article look more organized and professional.
For example, if I write an article about online calculators, I can create a featured image containing the article topic and a simple calculator related visual.
The same approach works for technology articles, tutorials, educational content, travel posts, and many other topics.
Online tools also make it easier to maintain a consistent visual style. I can use similar fonts and layouts across different blog images.
Are Free Tools Good Enough?
For many everyday projects, yes. I believe free online image editing tools are more than enough for basic text editing.
If I only need to add a title, quote, or short message to an image, I do not necessarily need expensive professional software.
However, advanced users may eventually need features such as detailed layer management, advanced typography controls, professional color correction, or specialized export options.
For simple image text editing, free tools can be a practical starting point.
Common Mistakes to Avoid
One common mistake is using too many fonts in the same image. I usually recommend keeping the design simple and using one or two complementary fonts.
Another mistake is placing text over a busy part of the photograph. If the background contains many details, the words may become difficult to read.
Using too many colors can also make an image look unprofessional.
Another issue is adding too much text. The purpose of image text is usually to communicate the main message quickly, not to reproduce an entire article.
Finally, always check the image before publishing it. Look at it on both desktop and mobile screens if possible.
Final Thoughts
There are many free tools to add text to images online, and I think they are a great solution for people who want attractive graphics without installing complicated software.
Canva is a strong choice for beginners and template based designs. Photopea is useful when you want more advanced editing control. Fotor, Pixlr, and BeFunky are also worth considering for different types of creative projects.
From my point of view, the best tool is not necessarily the one with the most features. It is the one that helps me create the image I need without making the process unnecessarily complicated.
If you are new to image editing, I would suggest starting with a simple project. Upload a photo, add a short title, experiment with two or three fonts, adjust the colors, and see how the final design looks.
With a little practice, you can create clean and professional looking images for your blog, social media pages, school projects, business promotions, and personal use without paying for expensive editing software.
The key is to focus on readability, simplicity, image quality, and a clear message. When these four things work together, even a simple photograph can become an effective and attractive graphic.